Barbara Smith's Cardmaking 101Character Constructions Stamps Used in This TutorialFour Steps to SuccessStamp & Color Your ElementsColoring continuedSlide 6Applying Layers of ColorCut Out Stamped ElementsSelect Coordinating Papers to Compliment Your Focal ImageAssemble Your Focal Image and Layer
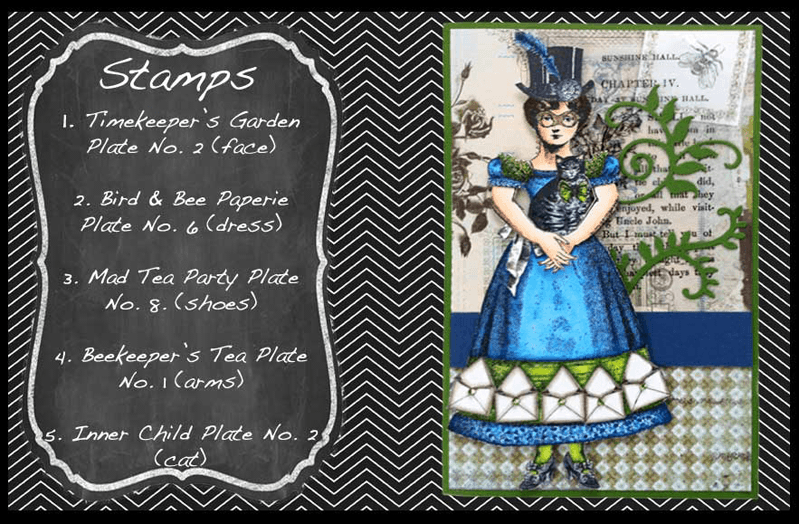
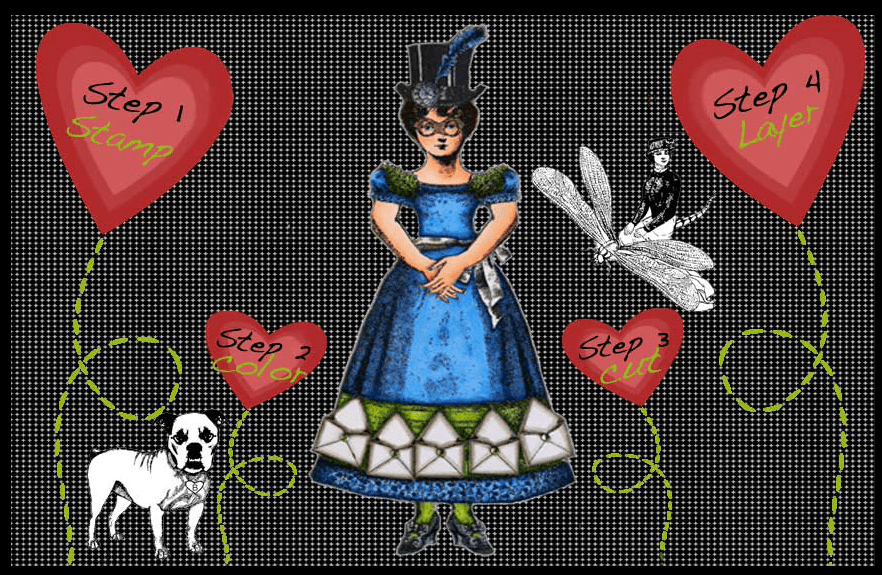
STAMP images onto coverweight paper or cardstock with Tsukineko Tuxedo black ink. In this tutorial a specialty paper designed to work with markers was used.
COLOR with markers or colored pencils. (Copic markers were used in this tutorial). Start with lighter shades and layer with darker shades to add depth.
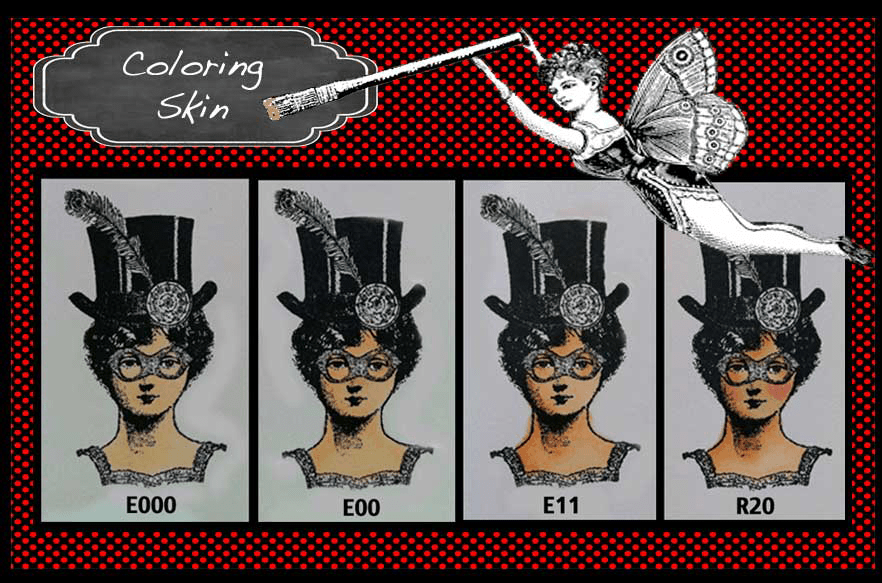
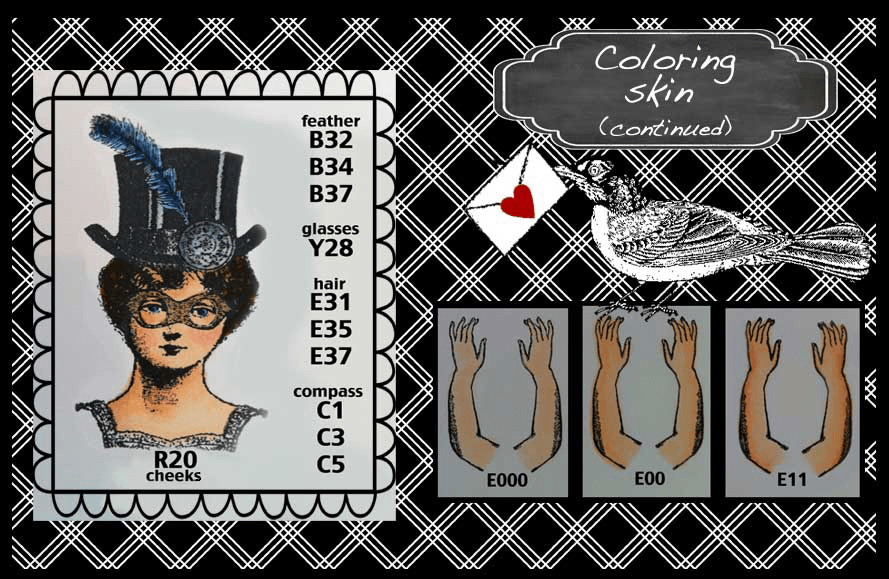
Facial Skin
Lay down E000 making sure to get good coverage.
Add E00 for depth around hairline, eyes one side of face, and to naturally shaded areas of image. Blend edges with E000.
Lightly add E11 to areas colored with E00, but do not completely cover E00. Blend edges with E00.
Add R20 to cheeks and small amount to center of neck area. Blend with E000.
Eyes: Layer colors from light to dark with B32, B34 and B37. Add glossy accents to lenses of glasses.
Arms:
Lay down your first color of E000.
Add E00 to naturally shaded areas of image, as well as to edge on same side, and to fingers and hand. Blend with E000.
Lightly add E11 to edges and areas colored with E00, but do not completely cover E00. Blend with E000.
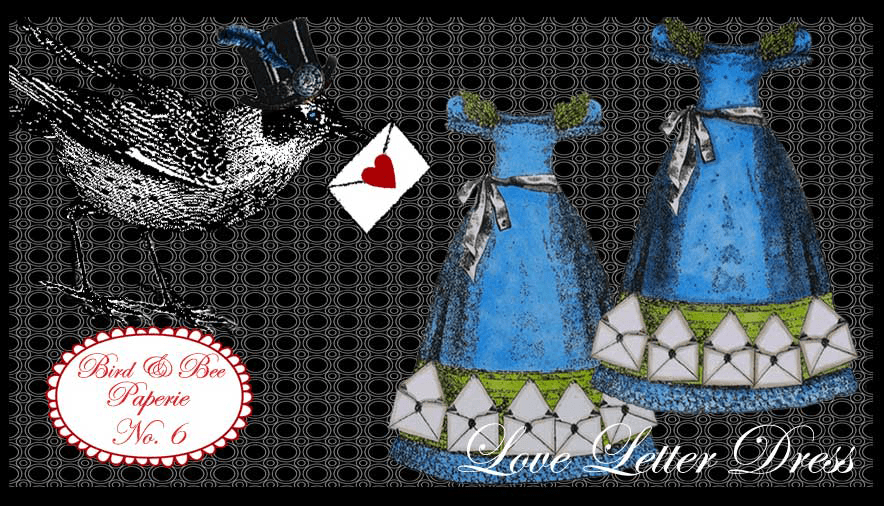
Dress
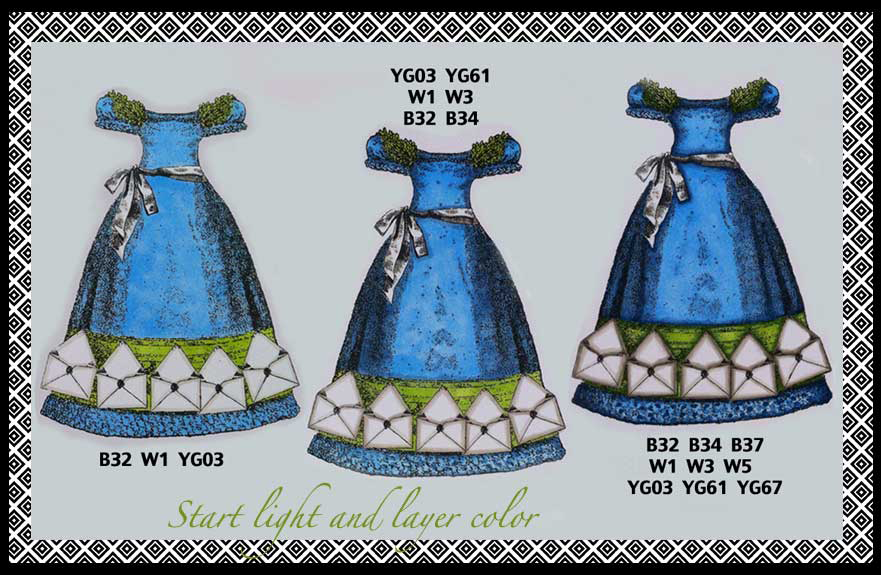
For the sleeves and top of the dress, lay down a layer of B32.
Add B34 to naturally shaded areas of image and edges. Blend with B34, then B32.
Add additional dots to shaded areas with B34. Blend with B32.
For the bottom of the dress, lay down B32 then add dots with B34. Be sure to add a heavier layer to the edges and sides.
Add a lighter dot layer with B37, and blend with B34.
For the green areas, lay down colors from light to dark with YG03, YG61 and YG67, blending as you go.
Stockings: Layer colors from light to dark with YG03, YG61 and YG67.
Shoes: Layer colors from light to dark with C1, C3 and C5. Embellish with rhinestones.
Envelopes: Lay down colors from light to dark with W1, W3 and W5.
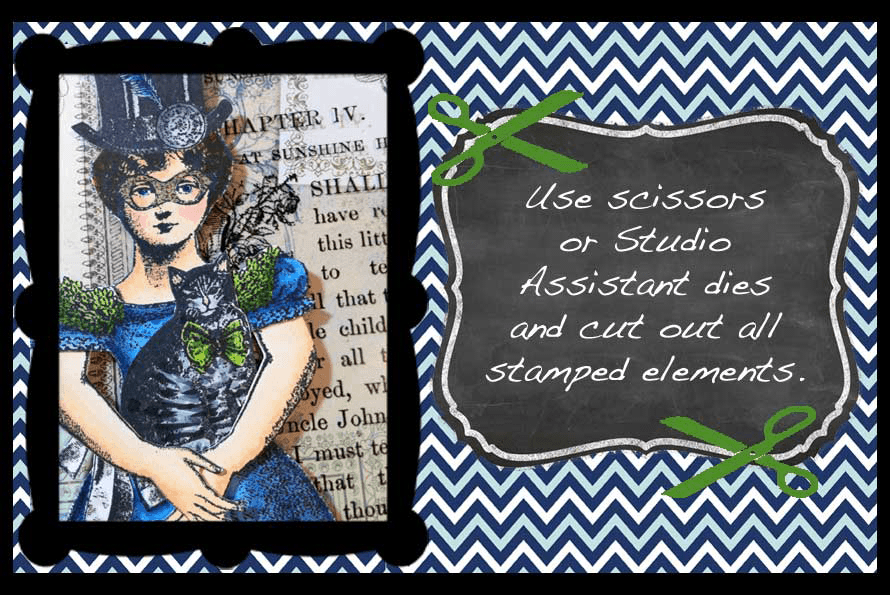
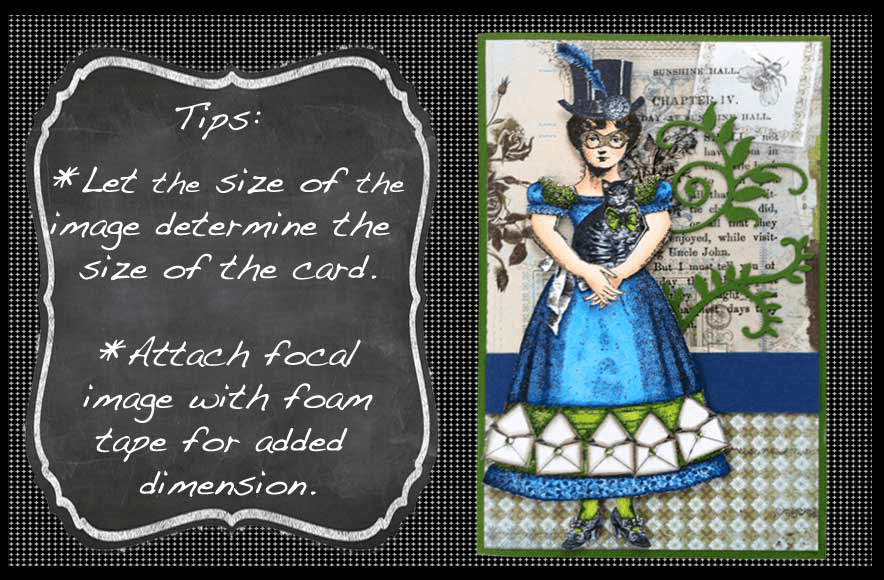
CUT out images with a fine detail scissor or Studio Assistant custom dies. (A die is available for the arms.) Assemble figure with adhesive of choice. Once the figure is complete, let the size of the image determine the size of the card.
LAYER
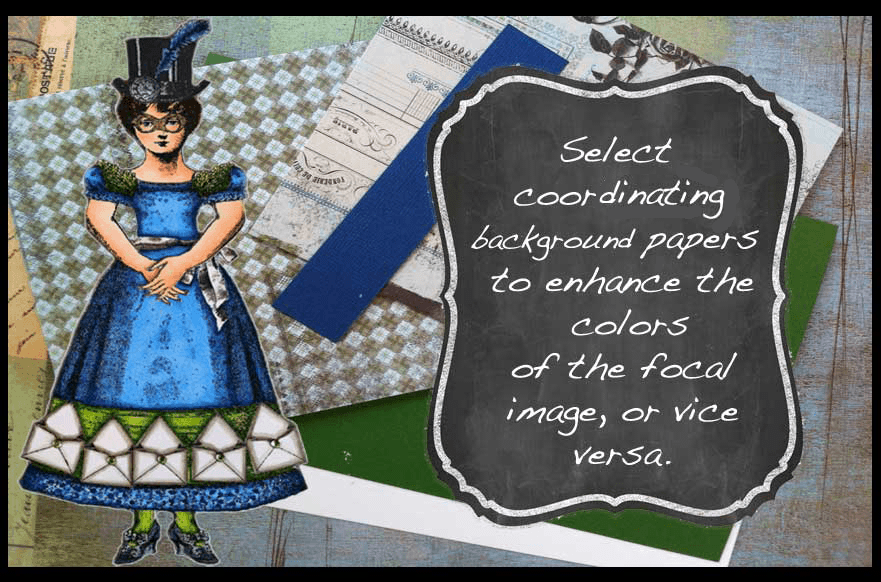
Select background papers to enhance the colors in the central figure, or vice versa. Working with various papers in the same line or collection is ideal.
For this card I selected two coordinated patterned papers, taking care not to overpower the central figure.
Select two solid colors of cardstock. One will be the base for the patterned papers and the other will be used as an accent.
I like to cut one piece of patterned paper a little larger than the other, and use a sold color to divide them. So save your scraps!
Once you have your arrangement figured out, cut papers to size and lay out your composition.
This is a good time, before the layers are adhered, to decide if any other elements are needed. At this stage, I added the bee image, the green vines and the acetate.
When you are happy with the placement of elements, attach them permanently with an adhesive of choice.
Use foam tape to adhere the central figure for some added dimension.